Apple tart

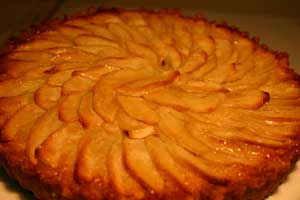
frenchappletart

This is one of my favorite desserts to bring. You know, like to someone’s house. As in, “what can I bring?”

I’ve been making this tart since it was featured on the cover of Bon Appetit in 1997. Whether for Thanksgiving, birthdays for non-cake eaters, fancy dinner parties, individual tartlets for a picnic…it always looks and tastes delicious. Over the years I’ve tweaked the recipe from the original and now just use my standard pâte sablée for the crust and a basic frangipane for the filling.

Make a double batch of both the crust and the filling and store (separately) in the freezer. You’ll have a quick, elegant dessert to throw together at the last minute. The frangipane works well with pears, apricots, or plums, too. And don’t skip the part where you brush on the apricot jam: this is the fun part of fussy. You’ll end up with a gorgeous dessert. Go ahead, put it on a pedestal.

French Apple Tart

1 recipe for Pâte Sablée, chilled

1 recipe for Frangipane, at room temperature

2-3 Granny Smith apples, peeled, quartered and thinly sliced

1 T. sugar

1 T. Calvados or appropriately-flavored liqueur such as Grand Marnier, Drambuie, Amaretto, or Licor 43

1/4 cup apricot jam

– Toss the apple slices with the sugar and booze, allow to sit for about 30 minutes.

– Preheat oven to 325F. Press pâte sablée dough into a 9-inch tart pan with a removable bottom. Be sure to create a thick edge all the way around the sides. Chill the crust in the freezer for 15 minutes before baking.

– Spread the frangipane into the chilled crust. Drain the apples and arrange in a concentric circle, overlapping slightly. Bake for around 50 minutes, until the apples are tender, the crust is slightly browned, and the frangipane has puffed and turned slightly golden. If the apples start to brown during baking, cover loosely with foil.

– Remove tart to a cooling rack. Warm up the apricot jam in a little saucepan or the microwave. Strain through a fine mesh strainer into a small bowl. Gently brush the apples and crust with the apricot syrup.

– Serve when cooled. It’s best on the day you’ve made it, but the tart will keep for a day: cover and refrigerate, but be sure to serve at room temperature. If you feel like gilding the lily, serve with a little vanilla ice cream or lightly sweetened whipped cream….just cut the slices a little smaller.

Spread the love

spread2

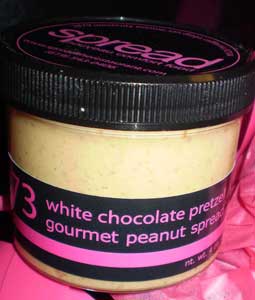
Along with a box of delicious homemade cookies, over the holidays a friend gave us 2 little jars of chocolate-peanut spread from, well, Spread, a restaurant in San Diego.

The dark chocolate peanut version (No. 14) has made a few appearances with my afternoon snack of toast and coffee. A delicious combination.

For some reason I waited until today to break out the other one, white chocolate pretzel (No. 73 ). Forget the toast: this one just needs a spoon. It’s criminally good. I’m eating it as I type. Don’t know if I can stop.

New Year’s Eve dessert spread

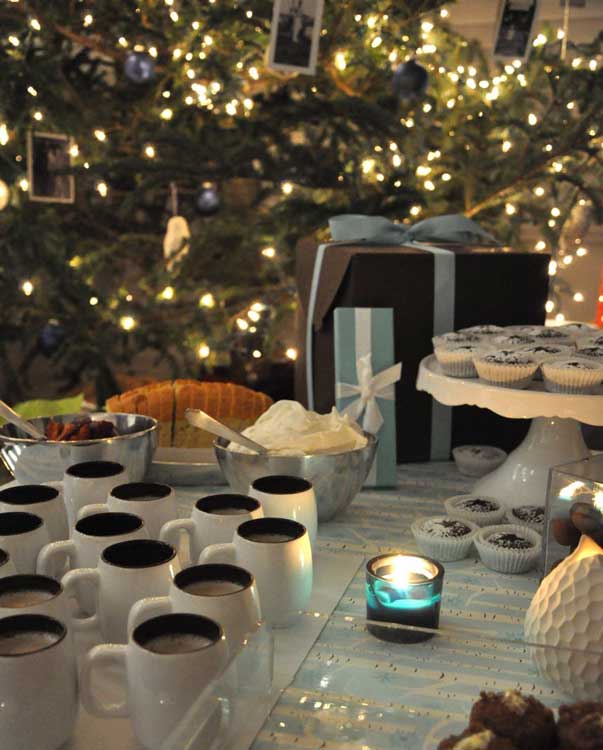
On New Year’s Eve, the Husband and I attended a fabulous potluck dinner (replete with optional 80s themed attire and a not-for-kids gift exchange). Naturally, we brought dessert. Because it’s a long night, I thought it would be fun to get people up and moving around rather than serve dessert at the table. Because there was going to be a crowd, I made everything self-serve and where possible, in individual portions. And it was a success! People grazed and nibbled between after-dinner gift grabbing and midnight toasting. Snaps to Matt for the awesome photos.

Here’s what I made:
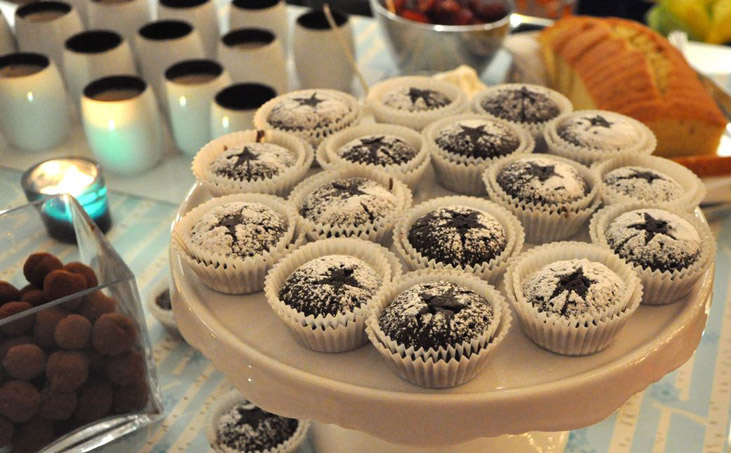
1. Tiny dark chocolate whiskey cupcakes, inspired by a December NY Times article about the brilliant holiday tradition of pairing booze with cake. The Husband made me a stencil taped to a paper clip to create the star design.

Tiny dark chocolate whiskey cupcakes (makes 48)

2 c. all-purpose flour

1 t. baking soda

1/2 t. kosher salt

5 oz. unsweetened chocolate (use a good one)

1/4 c. instant espresso powder

2 T. (generous) unsweetened cocoa powder

1 c. whiskey, plus more for sprinkling and a belt for the chef

1 T. vanilla extract

1/2# unsalted butter, softened

2 c. sugar

3 eggs

Line mini cupcake pans with papers (or butter and flour a tube pan, 2 loaf pans, or paper for 12 regular-sized cupcakes). Preheat oven to 325F.

– Melt the chocolate in the microwave or in metal bowl over simmering water; let cool.

– Put espresso and cocoa in a 2-cup glass measuring cup and add enough boiling water to make 1 cup, mix til combined. Add whiskey and vanilla and let cool.

– Sift together flour, salt, and soda in a small bowl.

Using a stand mixer with the paddle attachment, beat butter until fluffy. Add sugar and beat until very fluffy. Add eggs one at a time, beating well between each addition. Beat in melted chocolate. Scrape the sides of the bowl to make sure all ingredients are combined.

On low speed, beat in a third of the whiskey mixture. When liquid is absorbed, beat in half of the flour mixture. Repeat alternating additions, ending with whiskey. Most things do. Scrape batter into prepared pan(s) and smooth the top. Bake until a cake tester inserted into center of cake comes out clean (tiny cupcakes are done in 15 minutes, the tube pan takes about 1 hour).

Transfer cake to a rack. Unmold after 15-20 minutes and brush warm cake with the extra whiskey. Brush it again if you like things boozy. Be sure the cake is absolutely, completely cool before sprinkling with powdered sugar. Wrapped tightly, this cake freezes well…but needs to be brought to true room temperature to get the full effect of the booze+chocolate combo.

2. Truffles infused with dried-cherry balsamic syrup, using a recipe found on Design*Sponge, which is about as addictive as the truffles. These are so easy and so decadent.

Truffles infused with dried-cherry balsamic syrup

8 oz. dark chocolate, chopped (as always, spring for the best you can afford)

¼ c. heavy cream

pinch of salt

2 T. balsamic vinegar

8-12 dried cherries

½ c. cocoa powder (don’t even think of using Hershey’s)

– Heat the cherries and vinegar in a small saucepan and simmer for 5 minutes. Drain, reserving the liquid. Save the cherries for nibbling with a stinky and/or creamy cheese or as an addition to a salad of bitter greens (seriously intense, seriously good).

– Heat the chocolate and cream in a metal bowl over a pan of simmering water. Stir gently until smooth. Remove from heat. Stir in cherry-balsamic syrup. Cover the bowl with plastic wrap and set aside until firm enough to shape. This can take a couple of hours…I usually make the truffle mixture in the morning and then roll them at night or even the next morning. If you’re in a hurry, chill the mixture but not too much! You want something that feels slightly harder than Play Doh, because the heat from your hands will melt things once you start rolling. But too much refrigeration can leave you with a rock-solid chunk.

– To shape the truffles, scoop out a small nugget with a teaspoon and quickly roll between your palms to form a ball. I prefer truffles that are small, one-bite size. Roll them into the cocoa powder. That’s it! Store at room temperature in an airtight container for up to 2 weeks (as if).

3. Pound cake with macerated strawberries and whipped cream, an old favorite. Reports of a post-midnight “incident” involving the whipped cream have not yet been verified.

Pound cake with macerated strawberries and whipped cream

for the cake:

2 c. all-purpose flour

1 t. baking powder

1/2 t. salt

1/2# unsalted butter, softened

1 c. sugar

4 eggs at room temperature

2 t. vanilla extract

– Preheat oven to 325F. Butter and flour a loaf pan.

– Whisk together flour, powder, and salt.

– In a stand mixer with the paddle, beat butter and sugar until super fluffy, at least 5 minutes. Add eggs one at a time, beating well after each addition. Add the vanilla. Scrape the sides of the bowl to make sure all ingredients are combined.

– Add the flour mixture all at once and beat at low speed until just combined. Don’t overdo it! Use your rubber scraper to blend in the stuff from the sides and bottom of the bowl.

– Scrape into the pan, smoothing the top. Bake for until a cake tester comes out clean, at least an hour. If the top browns to quickly, loosely cover the pan with foil. Let the cake cool on a wire rack until cool, then unmold. This cake freezes well.

for the strawberries:

2 pints strawberries

2 T. sugar

2 T. balsamic vinegar

– Rinse, hull and quarter the berries. Toss with sugar and balsamic. Let sit up to an hour. Drain the liquid into a small saucepan. Simmer until slightly thickened. When cool, pour the syrup back over the berries.

for the whipped cream:

1 c. heavy whipping cream

1 t. vanilla extract

2 T. powdered sugar

– Beat it all in a large bowl with a whisk until thick and slightly stiff. Ideally, the bowl is chilled. If your arm gets tired, ask Kyle to help you.

4. Coffee panna cotta made in individual demitasse cups. Usually I make panna cotta in custard cups and unmold them right before serving. This version works well, too, with the coffee syrup at the bottom of the cup adding a nice surprise. The blue and white paper on the table is by Snow & Graham.

Coffee panna cotta

1/4 c. strong coffee (a shot of espresso works well)

1/4 c. sugar

– Combine coffee and sugar in a small saucepan and simmer until syrupy, about 5 minutes. Transfer to a glass measuring cup and allow to cool. Pour into 6 demitasse cups, distributing evenly.

1 t. gelatine

1 T. whole milk

– Sprinkle gelatine over milk in a small bowl and allow to stand for a few minutes, until it’s puckery.

1 c. table cream

1 c. whole milk

1/3 c. powdered sugar

1 t. vanilla extract

– Combine cream, milk, sugar, vanilla in a saucepan and heat to boiling. Remove from heat and whisk in the gelatine mixture. Transfer to a glass measuring cup, llow to cool. Pour into the demitasse cups and refrigerate at least 6 hours or be smarter than I was and chill these babies overnight.
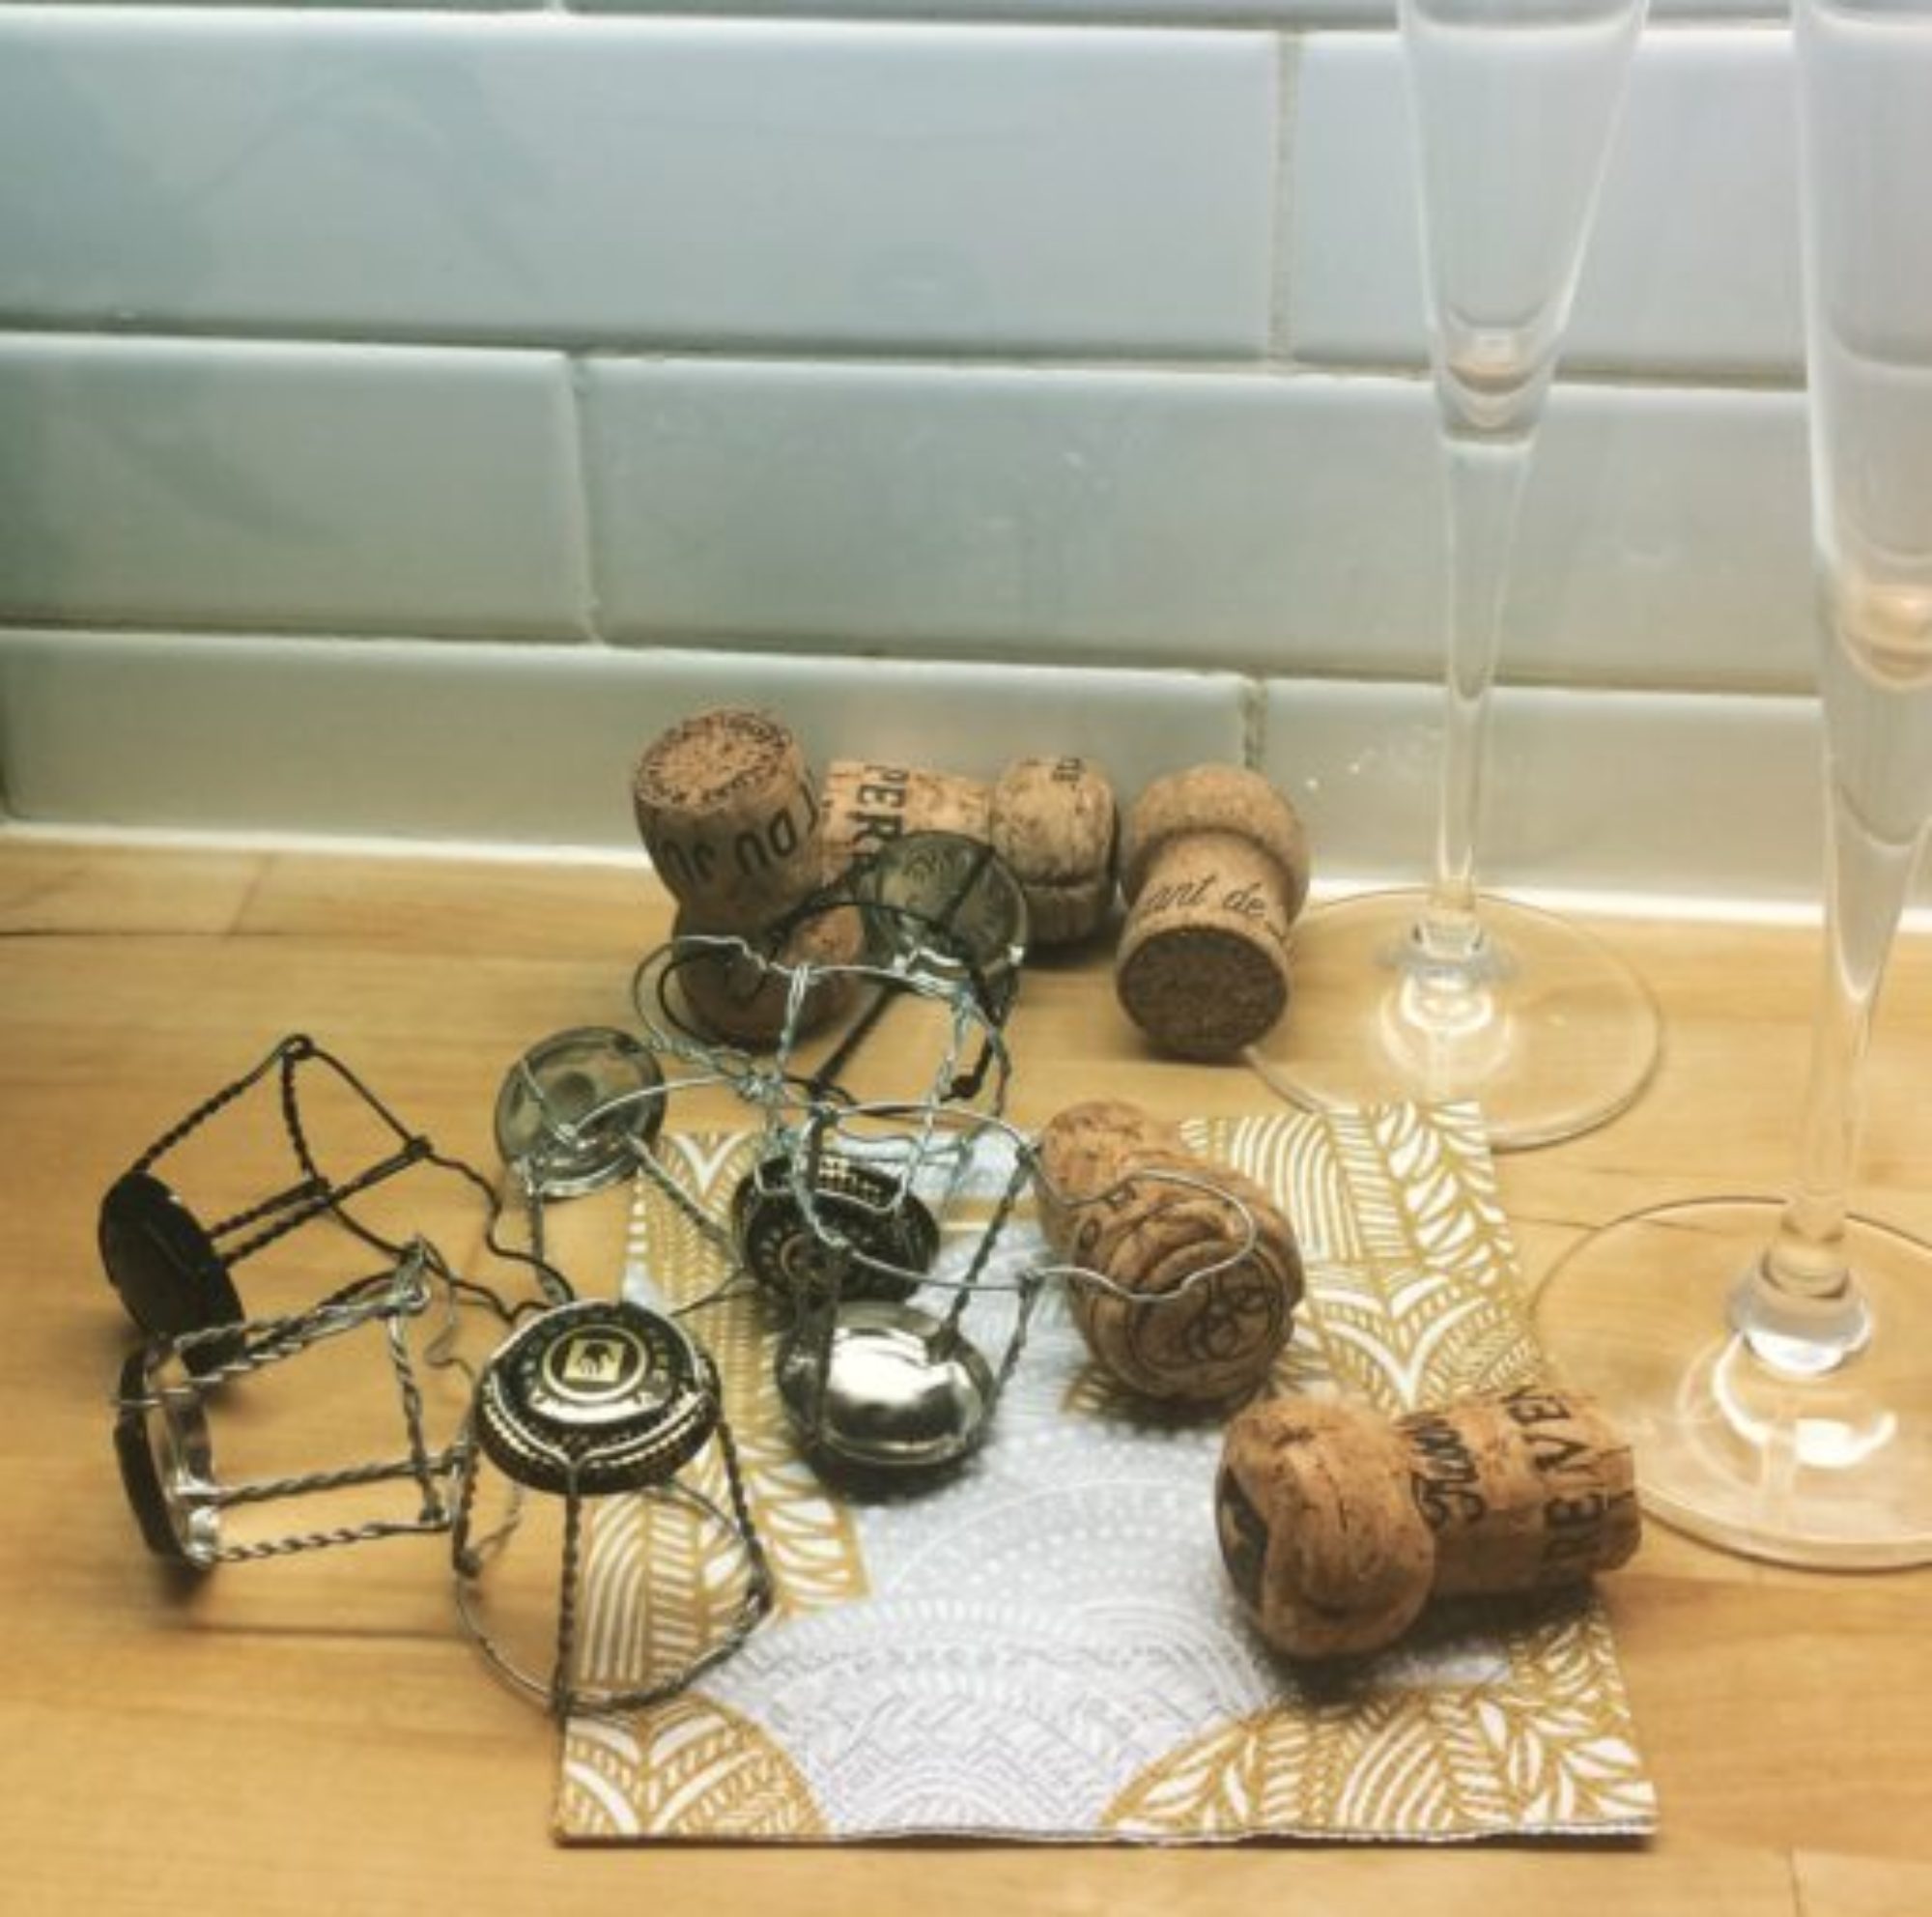
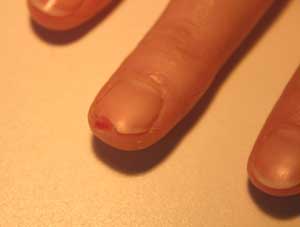
It slices! It dices! It…sliced off a bit of my finger.

A couple of nights ago, I was making a galette of rutabaga and sweet potato. To get the vegs sliced thin enough to develop the desired crusty surface, I pulled out my mandoline…which has a slider and grabber contraption that keeps one’s fingers away from the blade. Not wanting to waste anything, I decided to shave down an especially lumpy rutabaga without the mandoline’s slicer housing thingy until it would fit. In other words, I freestyled on the sharpest implement in my kitchen.

Surely you can guess what happened next:

fingerslice

It hurt and bled like the dickens. Luckily, the Husband found the finger bit (and the nail!). Safely ensconsed in a tourniquet-tight bandage and rubber glove, I rinsed off the rutabaga slices and proceeded with dinner preparations. Happy to report that the galette was delicious.

Root Vegetable Galette

3# root vegetables, peeled and very thinly sliced

(potatoes, rutabagas, sweet potatoes,parsnips–alone or combined–all work well)

1/4# melted butter (you may need a little more)

2 T. fresh thyme, chopped

salt & pepper to taste

– Preheat the oven to 400F, placing a well-seasoned cast iron skillet in the oven to heat up. Pour half of the melted butter into the skillet. Layer in the sliced vegetables in concentric circles, overlapping slightly, to make a single layer. Drizzle with butter and sprinkle with thyme, salt, pepper. Make another layer, again drizzle and sprinkle.

– Lightly butter a sheet of foil and lay on top of the vegetables. Using a heavy pan (another skillet works well), press down on the foil. Bake the galette –with the additional pan on top–for around 30 minutes or until the edges look browned and the vegs have softened. Remove from the oven and allow to sit around 10 minutes.

– When ready to serve, remove additional pan and the foil. Lay a plate or serving platter that’s slightly larger than the cast iron skillet over the top. Holding the platter to the skillet, flip over to turn out the galette onto the platter. Wear your oven mitts! If any crunchy slices have go astray, just patch in. Garnish with thyme sprigs and cut into wedges to serve.

Speaking of cocktails…

A friend visiting from out of town was in need of grown-up pursuits, far from nursery or playground. I took her to The Violet Hour, truly the most civilized bar in Chicago. The chill/luxe atmosphere of flickering candles, high-backed chairs, and low-lit chandeliers fosters quiet conversation. Which is the perfect vibe for savoring the outrageously delicious cocktails. People, this place is serious: they make their own bitters. And they won’t let you in unless there’s a chair for you. Go early, there’s usually a line after 7.

Crackers…biscuits…what to eat with a cocktail

Years ago I read in one of Marcella Hazan’s cookbooks the value of having something easily on hand to serve to pop-in guests. This is a recipe I discovered on Epicurious, following is my modified version. Not so much a cracker as a savory biscuit, these are delicious: cheesy, spicy-tangy, crunchy, buttery. The dough is formed into logs and then chilled. Freeze a couple of logs and you’ll have a quick, fabulous treat to bake up in 15 minutes and make unexpected guests feel welcome. Also great as a light nibble with drinks before a heavy holiday dinner.

For all of you copy editors out there, Cheddar is capitalized because the cheese is named for the English village where it was first made in the 12th century.

Mustard Cheddar Crackers

1/2# unsalted butter, very soft

1# sharp grated Cheddar

2 scallions

1 egg yolk, at room temperature

1 T. Dijon mustard

2 T. dry mustard (I like Coleman’s)

1/4 c. mustard seeds, toasted and cooled

1 t. kosher salt, plus more for sprinkling

2 c. all-purpose flour

Blend butter, cheese, yolk, scallions, and Dijon in food processor until smooth. Add remaining ingredients and pulse until the dough has just come together (don’t overdo it or your dough will be tough). Scrape the dough into a bowl and chill for around 15 minutes, until firm enough to handle.
Form the dough into 2 logs, about 1 inch in diameter. I find that using plastic wrap to help shape the logs is the least messy way. Refrigerate at least 4 hours or you can freeze the logs and use as needed.

When ready to bake, remove logs from freezer. Preheat oven to 350F. Line 2 baking sheets with parchment or Silpats. Slice logs into thin slices. Sprinkle with a little kosher salt before baking. Crackers are finished when pale golden, 15 minutes at most. Store in an airtight container only when completely cooled.

Holiday goodies

Holiday bakers, start your ovens. Your friends are counting on at least a little bag of homemade love, of course they’re really hoping for a giant tin stuffed with your famous shortbread. In my world, nothing feels better than making something the people I love…will love.

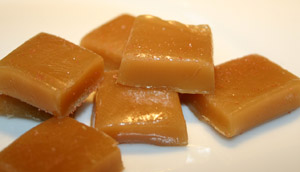
But what to make for the gluten-intolerant? The celiac-afflicted certainly get a raw deal all year round, but  it must be really tough at Christmas Cookie Time. My solution of late is candy. Specifically, salted caramels that taste like a grown-up childhood memory. Buttery, toasty, sweet, and a bit salty. Try one with a belt of your best Scotch and see if you don’t feel sorry for your 7-year-old self, making do with those Brach’s caramels from the A&P.

Candy-making scares people, but really it’s just a matter of precise temperature monitoring and showing proper respect to sugar’s ability to impart the worst burns of your life. Here’s a silly but informative site about sugar and candy. One piece of specialized equipment is crucial, however: you must have a candy thermometer to make candy. Spend the 10 bucks, store it in a place where the bulb won’t get crushed, and make these delicious caramels for your loved ones.

Salted Caramels

4 T. butter

1 1/2 c. heavy cream

2 c. sugar

1 t. sea salt

1/2 c. corn syrup

1 1/2 t. vanilla extract

+ more sea salt for sprinkling

Generously butter a 9-inch glass baking dish. In a deep, heavy saucepan, combine all ingredients except for the vanilla. Clip your candy thermometer to the side of the pan. Cook over medium heat and stir slowly with a wooden spoon. Cook to 245F to 248F (the firm-ball stage). No lower, no higher! Remove pan from heat and stir in vanilla. Pour into prepared pan and cool to room temperature. This is where your silicone oven-mitt comes in handy, too, as any stray caramel drips will wash off easily. When cooled, remove the whole slab from the pan (you may need to cut out a tiny corner piece to achieve this: cook’s bonus) and sprinkle with sea salt. Put the slab on waxed paper and refrigerate until firm enough to cut, about 15 minutes. Using a large, heavy chef’s knife, cut the caramels into 1-inch squares. If the slab is too hard to cut, let it sit out to soften. If it’s too soft, chill it a little longer. Wrap into pieces of waxed paper and store the wrapped candy in a ziplock bag in the fridge. Distribute to the truly worthy.

Farro

The Last Barbeque of Summer was this weekend, at our friends’ place in Oak Park. It’s a symbiotic relationship that developed a definite pattern this summer: We love abusing their hospitality by taking advantage of their grill, they love watching their kids take advantage/abuse us. Seems to work for all parties involved.

On the menu were burgers and beer. The realization that I’m but a month away from a bikini parade prompted my contribution of a salad. A while back I’d picked up a packet of farro, which has been loitering on the high shelf next to more popular items like crackers and chocolate. When it’s time to get serious about the whole grains, farro is a wonderful choice: minimally processed, it is high in proteins, carbohydrates, and vitamins and has a chewy, nutty taste. Also known as emmer wheat and grano farro, this grain was cultivated in ancient Egypt and was a staple for the Roman Empire.

Farro Summer Salad

– In a cast-iron skillet, toast the farro grains until lightly browned and fragrant. Keep the heat on and add liquid based on a 3:1 ratio. Chicken broth, vegetable broth, water and a little white wine, all work well. I used veggie stock from my freezer. Let the farro simmer until just past al dente.

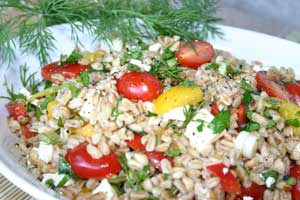
– Meanwhile, chop fresh vegetables, herbs, and crumbly cheese. For this salad, I used tomatoes, peppers, dill, scallions, parsley, and feta. Make a vinaigrette of olive oil, white wine vinegar, lemon zest and juice, salt & pepper.

– Toss the farro, vegs, and vinaigrette. Add the cheese. That’s it! Toasted almond or pine nuts would have been a nice addition, if I’d thought of it at the time. Serve at room temperature or slightly chilled.

Reader, this took me all of 25 minutes, most of which was spent watching the grains cook. I used an 8 oz. packet, made about 12 servings. The leftovers made a great lunch on a bed of greens. This was a really delicious end-of-summer salad; think I’ll be making farro with roasted squash, caramelized onions, blue cheese, and a cumin/orange-based vinaigrette for fall and winter dinners.

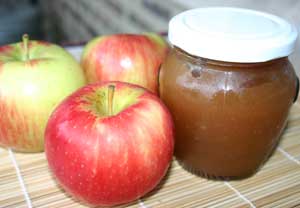
Apple butter

For a guy who can go days without needing a baguette, the Husband loves the things one spreads on bread. Lemon curd. Almond butter. Toasted cheese. Apple butter. Early in our dating career, I made a batch of apple butter and presented him with a jar on his birthday. He was overjoyed, but that could have been because I served said butter with pancakes while wearing a nightie. Be honest, you’ve done it, too.

At the farmer’s market recently, I spied baskets of mixed apples: Golden Delicious, Cortland, Macintosh, Jonathan. I lugged one home in the spirit of “an apple a day…” Didn’t happen, and, fearing rot or mealiness, I made apple butter. The recipe comes from Joy of Cooking, the surprising ingredient is apple cider vinegar. Be sure to let it cook long enough: the apples’ naturally occurring pectin makes the end result wonderfully thick and spreadable, but you’ve got to cook out most of the moisture to get it.

Apple Butter

4 lbs. apples

1 c. water

1 c. apple cider vinegar

brown or white sugar

1/2 t. each of cinnamon, cloves, allspice

juice from half a lemon

pinch of salt

Wash, quarter, and remove stems and seeds from apples. Combine with liquids in a sauce pan and cook over low heat until very soft. Put fruit through a fine mesh strainer. Place in a saucepan. For each cup of fruit pulp, add 1/2 cup of sugar. Add remaining ingredients and cook over very low heat, stirring frequently. It’s done when a spoonful placed on a plate has no liquid seeping around the edges. Pour into hot sterilized jars. Store in the refrigerator.

Holy mole

Last week, an outing with friends to a concert caused me to change the menu for a big dinner I was doing Saturday night. After hearing a song about the making of mole poblano, a complex dried chile-based sauce from Mexico, I realized I’ve been wanting to make this ever since a Oaxacan cook gave me a recipe nearly 10 years ago.

Having long lost the recipe, which if I recall was more of a scrawl–in Spanish–on the back of an envelope, I found what appeared to be a solid one on Epicurious that included crucial suggestions and warnings that could mean the difference between tired cook/great sauce and scorched cook/ruined sauce.

Early Thursday morning, I rolled through the largest of my local Mexican grocers, searching for 3 kinds of dried chiles and countless seeds and spices. My amusement at the curiosity of the checkout guys (what’s this gringa buying?) turned to delight when I saw my total: $21.75. This was the high point of the day.

And then home, where the grind began. Each ingredient must be cooked separately, then combined in precise ways that all seemed to involve my Cuisinart bowl, which I must have washed a dozen times. The hours of labor, I soon learned, were a cake walk compared to the occupational hazards of making mole. I diligently heeded the warnings to wear gloves whilst de-seeding the ancho, mulato, and pasilla peppers and took care to avoid the sting of popping pumpkin seeds.

But I grossly underestimated the ferocity with which the chiles, now reconstitued and pureed, would spatter when heated in a stock pot. I also was off on the distance a bubble could fly. Within minutes, chile puree was spattered all over the stove, the kitchen cabinets, the floor, my arms. At the moment I realized that a thick, hot sauce made with spicy ingredients burns bare skin in two very distinct ways…a bubble popped and slapped me right in the eye. I recommend removing the contact lens as quickly as possible and then letting the tears flow freely.

It should be noted that the wise woman who first served me mole poblano had not made her own sauce, but purchased a paste from an expert mole maker at her local outdoor market. It should also be noted that like the French, I don’t attempt to make my own baguettes or croissants. Why I felt compelled to make a dish that requires a day of work, techniques I’ve never tried, and more than twenty ingredients, I cannot say. While on my hands and knees scrubbing the kitchen floor in front of my stove, I still didn’t know.

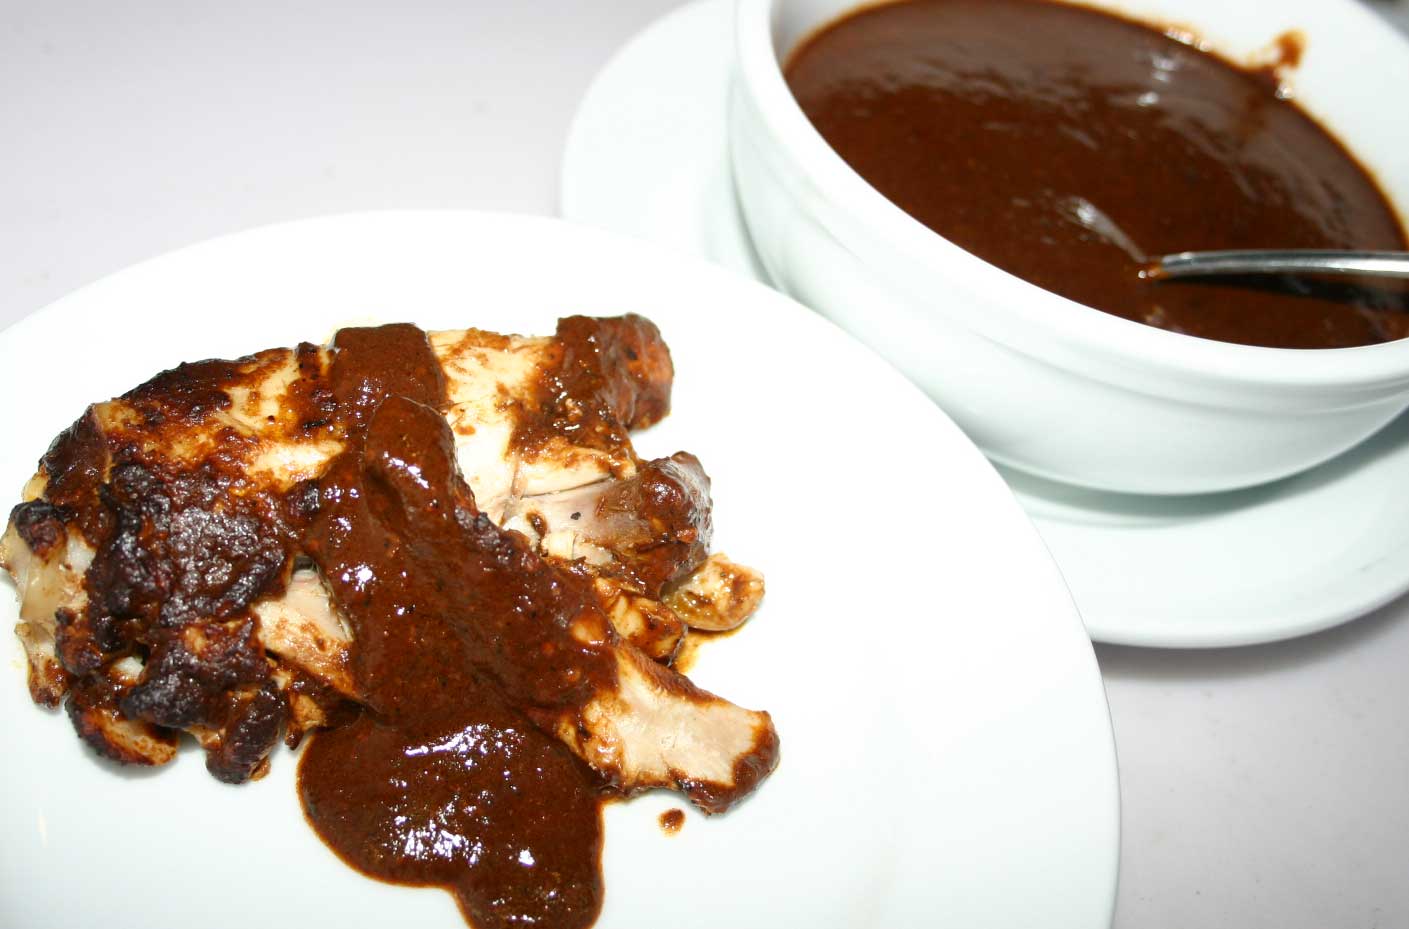
It wasn’t until the Husband and I had a sample with poached chicken for dinner that night that I realized: busting your ass to take a giant leap of faith feels amazing when the result is this good. The mole was simply fabulous. Dark, complex, earthy, spicy, sweet, smoky….luscious. Gorgeous on the plate, voluptuous the tongue. Thank goodness the 20+ people having dinner at my mother’s house were appreciative. But I’m no fool: it will be years before I try making this again. We’re hoarding a container of spare sauce in the freezer…maybe we’ll have mole for Christmas.